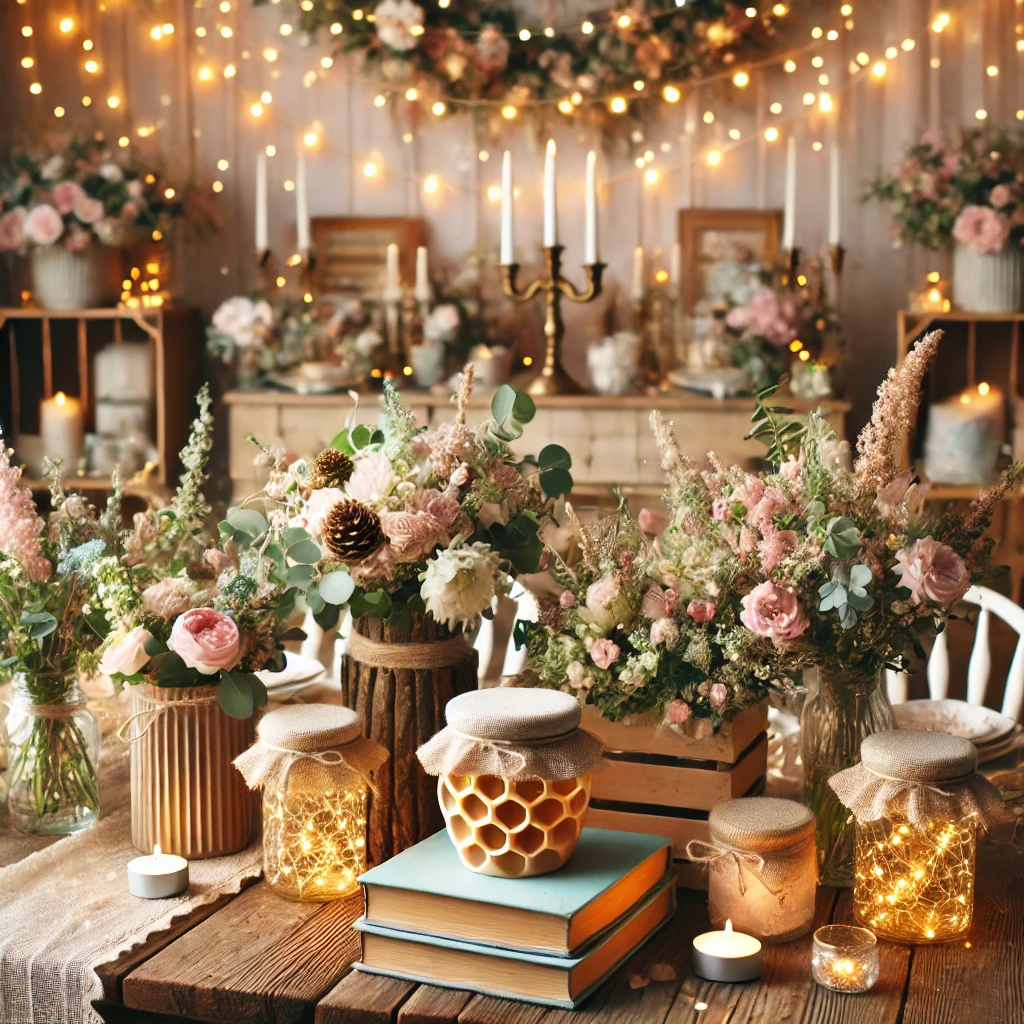
Winnie the Pooh-themed baby showers are an absolute delight, filled with nostalgia, whimsy, and heartwarming charm. Adding DIY centerpieces to your celebration not only enhances the theme but also brings a personal touch that your guests will adore.
These 10 creative Pooh-inspired centerpieces will make your event truly magical and memorable.
If you make a purchase using a link in this post I may be compensated at no additional charge to you. See my affiliate disclaimer for more information.
Shop These Pooh Centerpiece Ideas
If you’re short on time or prefer a simpler setup, these centerpiece ideas are some of the easiest ways to bring your Winnie the Pooh baby shower together quickly.
Best Easy Centerpiece:
Honey Pot Flower Arrangement
Best Statement Centerpiece:
Balloon Centerpiece
Best Rustic Look:
Wood Centerpiece
Best Budget-Friendly Option:
Mason Jar Creations
1. Honey Pot Flower Arrangement
Best For: Quick, foolproof centerpiece setup
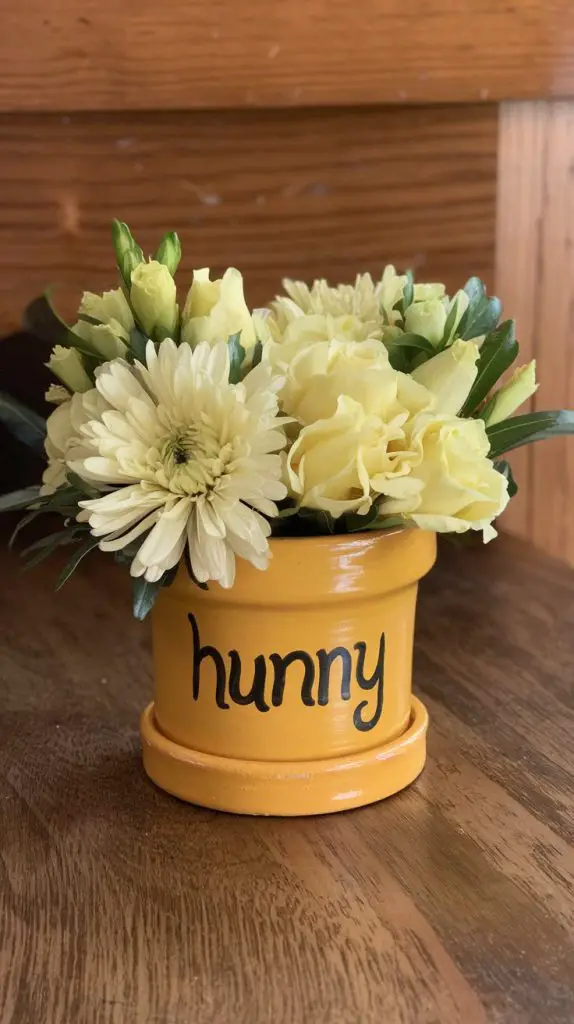
If you want a centerpiece that instantly fits your Winnie the Pooh theme without having to figure out a complicated setup, a honey pot arrangement is one of the easiest ways to bring everything together.
It gives your tables that classic “hunny” look while helping your decor feel warm, styled, and complete without a lot of extra effort.
If you want the easiest way to recreate this look without figuring everything out, you can grab the exact items below.
Place one centerpiece per table and surround it with small accents like honey jars or candles to make the setup feel more complete and intentional.
Use the items below to recreate this centerpiece:
Each piece plays a role in pulling this look together. Using a mix of base elements, texture, and accents helps the centerpiece feel complete.


- Paint the pots yellow or gold and allow them to dry completely.
- Write “HUNNY” on the side using a paint pen.
- Fill each pot with flowers like sunflowers or daisies.
Use pre-painted pots or skip the lettering and add a small “hunny” tag instead. This saves time while still giving you the same finished look.
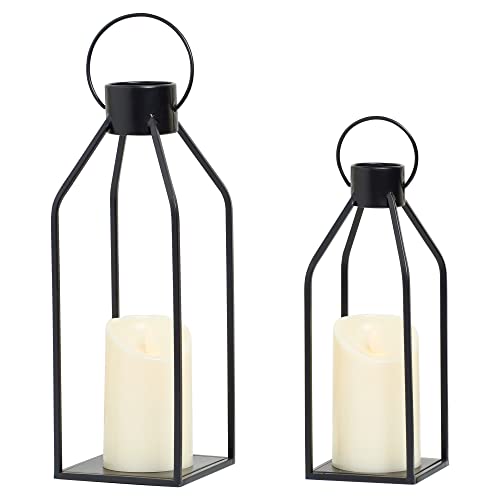
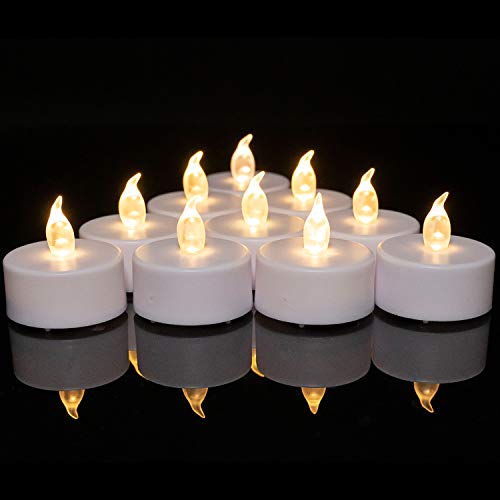
2. Hundred Acre Wood Lanterns
Best For: Soft lighting and cozy ambiance

If you want a centerpiece that adds a soft, cozy glow without needing a lot of decorating, lanterns are an easy way to create that warm woodland feel.
They bring in texture, height, and lighting, which helps your tables feel more styled and complete without adding a lot of extra pieces.
Most people skip the guesswork and just use the items below to pull this look together quickly.
Place these lanterns at different heights using crates or books to create a more dynamic and visually interesting table setup.
Use the items below to recreate this centerpiece:
To get this look right, you’ll want a base, filler, and a few accent pieces. The items below work together to create a full, balanced centerpiece.


- Line the bottom of the lantern with faux moss.
- Arrange mini Pooh and friends figurines inside.
- Add soft string lights for a warm glow.
Use battery-operated fairy lights and pre-arranged greenery to save time while still creating a full, layered look.
3. Pooh and Friends Plush Scene
Best For: A standout, photo-ready table

Sometimes centerpieces can feel a little flat or forgettable, especially when they don’t really connect to your theme.
This setup solves that by turning your table into a full scene, not just decoration.
By using plush versions of Pooh and his friends, you create something that feels warm, familiar, and instantly recognizable.
If you’re not sure where to start, these are the exact pieces that make this setup come together.
Add a mini chalkboard with a favorite Winnie the Pooh quote to personalize the display. Keep the colors soft and natural to maintain that cozy Hundred Acre Wood feel.
Use the items below to recreate this centerpiece:
Instead of guessing what to pair together, these items are what help this centerpiece come together smoothly and look fully styled.

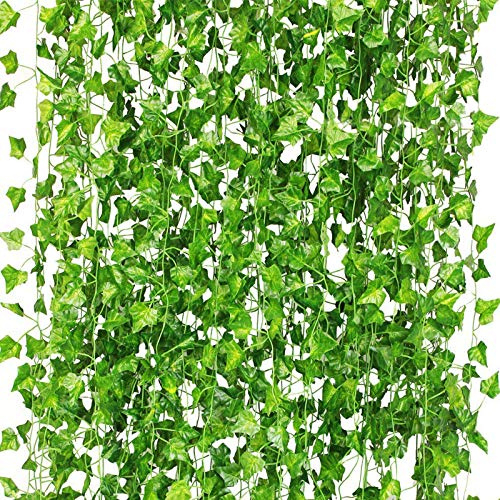


- Arrange the plush Winnie the Pooh, Tigger, and other toys on a wooden base.
- Use glue to hold them in place.
- Layer in fall greenery around the base to create a soft, natural woodland feel.
- Tuck in small flowers to add texture and bring the scene together.
Use a pre-arranged greenery garland and simply place your plush toys in the center to cut down on setup time. Don’t forget to use glue to hold them in place during the event.
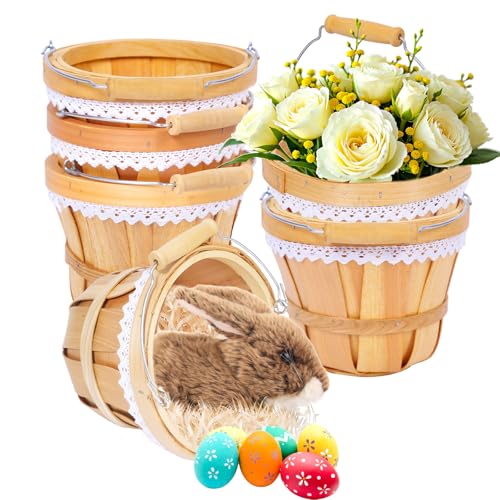
4. Rustic Wooden Crate Centerpiece
Best For: Rustic, layered table styling
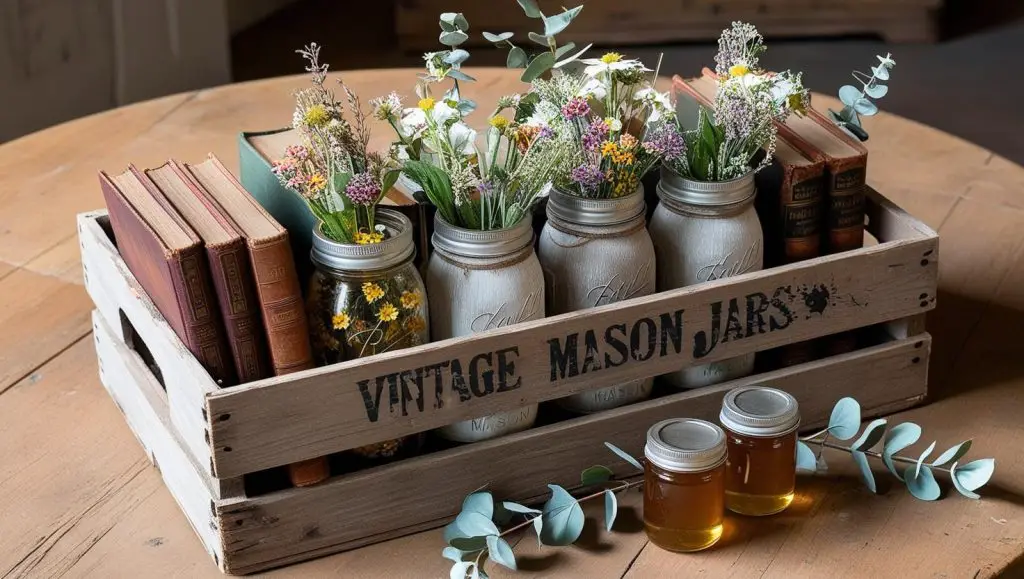
Sometimes your tables can feel a little empty, even when you’ve added decor.
This setup solves that by giving you a sturdy base to build around, so everything looks intentional instead of scattered.
Using wooden crates instantly adds height, texture, and that cozy, rustic feel that fits perfectly with a Pooh theme.
It helps you layer your decor in a way that feels full without looking cluttered.
If you want the easiest way to recreate this look without figuring everything out, you can grab the exact items below.
Stack two crates at different angles to create a more dynamic, layered look that adds height and visual interest to your table.
Use the items below to recreate this centerpiece:
Each piece plays a role in pulling this look together. Using a mix of base elements, texture, and accents helps the centerpiece feel complete.
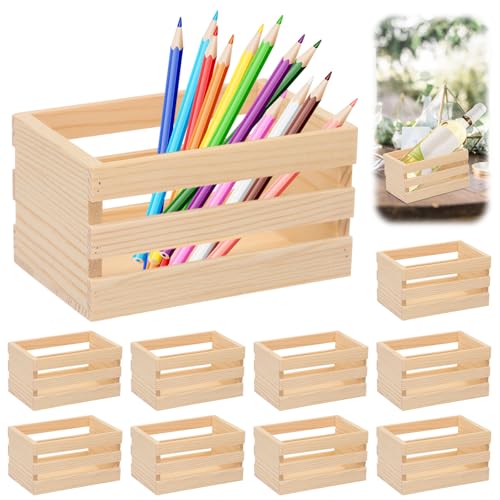


- Place a wooden crate in the center of the table.
- Arrange mason jars and vintage Pooh books inside and around the crate.
- Add small honey jars or faux greenery to fill any empty spaces.
Use pre-filled mason jar sets and pre-stacked crates to save time, then simply arrange everything in place for a quick, polished setup.
5. Floating Balloon Table Display
Best For: Eye-catching height and movement
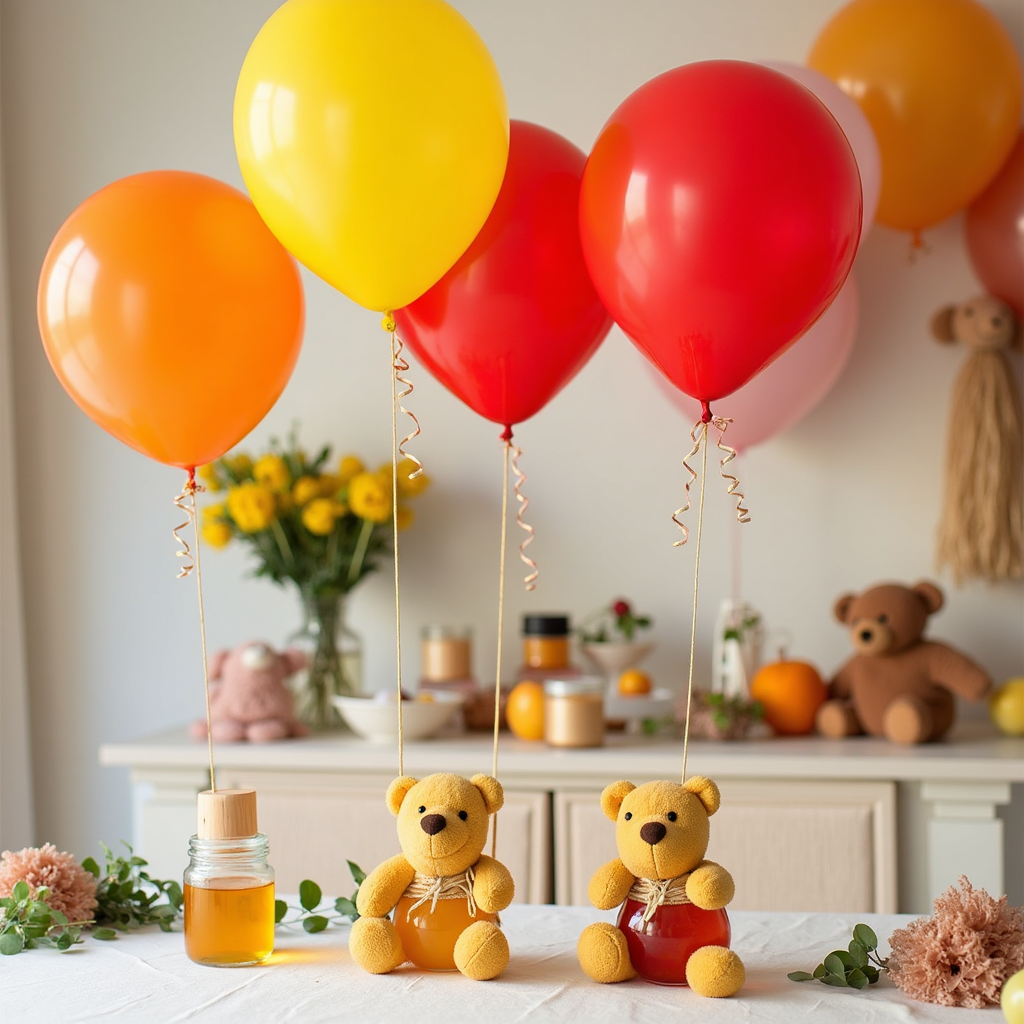
Sometimes your tables need something that draws the eye upward, not just across the surface.
This setup solves that by adding height and movement, so your space feels more styled and less flat.
Using floating balloons tied to themed anchors creates that playful, instantly recognizable look inspired by Pooh, while still feeling clean and intentional.
Most people skip the guesswork and just use the items below to pull this look together quickly.
Use balloons at varying heights to create a more dynamic, eye-catching display that adds movement and visual interest to your table.
Use the items below to recreate this centerpiece:
To achieve this look, you’ll need a base, filler, and a few accent pieces. The items listed below work together to create a complete, well-balanced centerpiece.


6. Mini Picnic Basket Displays
Best For: Small tables and compact setups
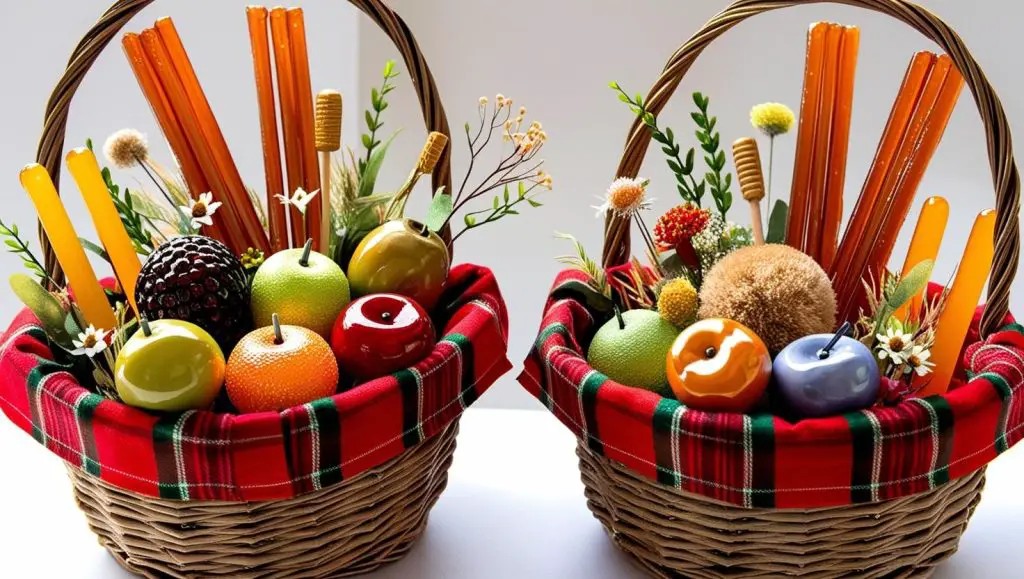
Sometimes your tables need something that feels a little more styled and intentional, especially when you’re working with smaller spaces.
This setup solves that by giving you a compact centerpiece that still feels full and themed.
Using mini picnic baskets brings in that cozy, outdoor feel inspired by Pooh’s picnics, while keeping everything contained and easy to style.
If you’re not sure where to start, these are the exact pieces that make this setup come together.
Place a small Pooh-inspired figurine next to the basket to tie the look together and make the theme feel more complete.
Use the items below to recreate this centerpiece:
Instead of guessing what to pair together, these items are what help this centerpiece come together smoothly and look fully styled.


- Line each basket with a piece of plaid cloth.
- Fill the basket with honey sticks, faux fruits, and small floral arrangements.
- Arrange the baskets neatly in the center of each table.
Use pre-filled decorative baskets or bundle your items together ahead of time so you can quickly place them on each table without extra setup.
7. Tigger-Inspired Floral Arrangements
Best For: Adding bold color to your decor
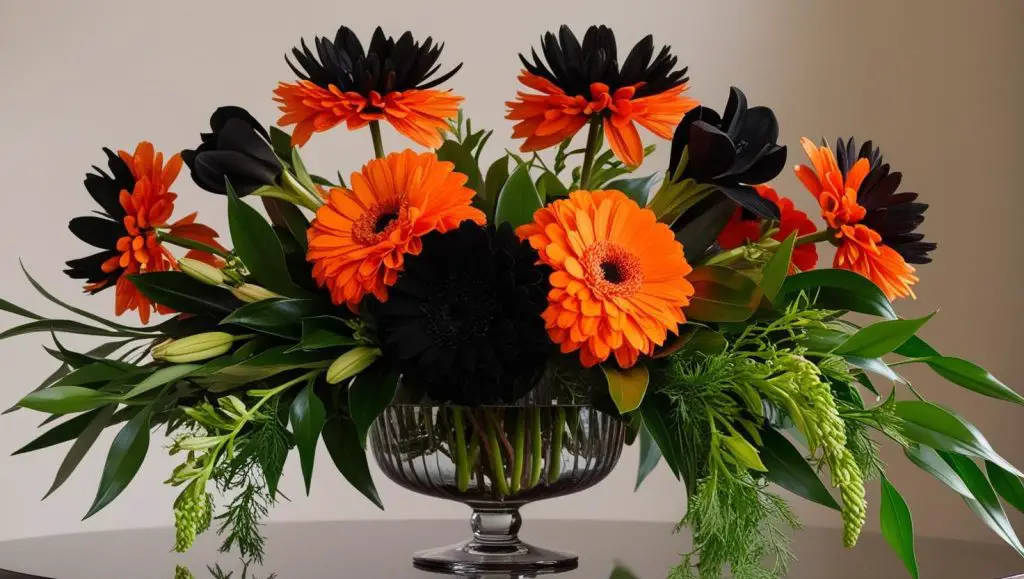
Sometimes your tables need a pop of color to break up all the softer tones.
This setup solves that by bringing in bold, vibrant elements that instantly catch the eye without feeling out of place.
Using orange and black florals gives you that playful, energetic feel inspired by Tigger, while still keeping the overall look balanced and styled.
If you want the easiest way to recreate this look without figuring everything out, you can grab the exact items below.
Use vases with subtle stripes to mimic Tigger’s pattern while keeping the overall look clean and not too busy.
Use the items below to recreate this centerpiece:
Each piece plays a role in pulling this look together. Using a mix of base elements, texture, and accents helps the centerpiece feel complete.

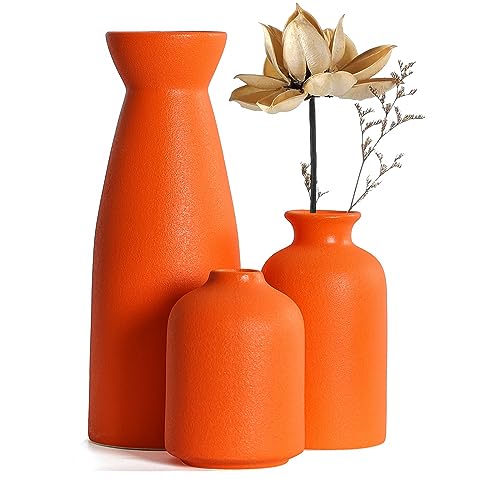


- Arrange the orange and black flowers in your vase, alternating colors for contrast.
- Add greenery throughout the arrangement to soften the look and create balance.
- Adjust the height and spacing so the arrangement feels full without looking crowded.
Use pre-arranged artificial flower bundles and simply place them into your vase, then add a few greenery stems to quickly fill out the arrangement.
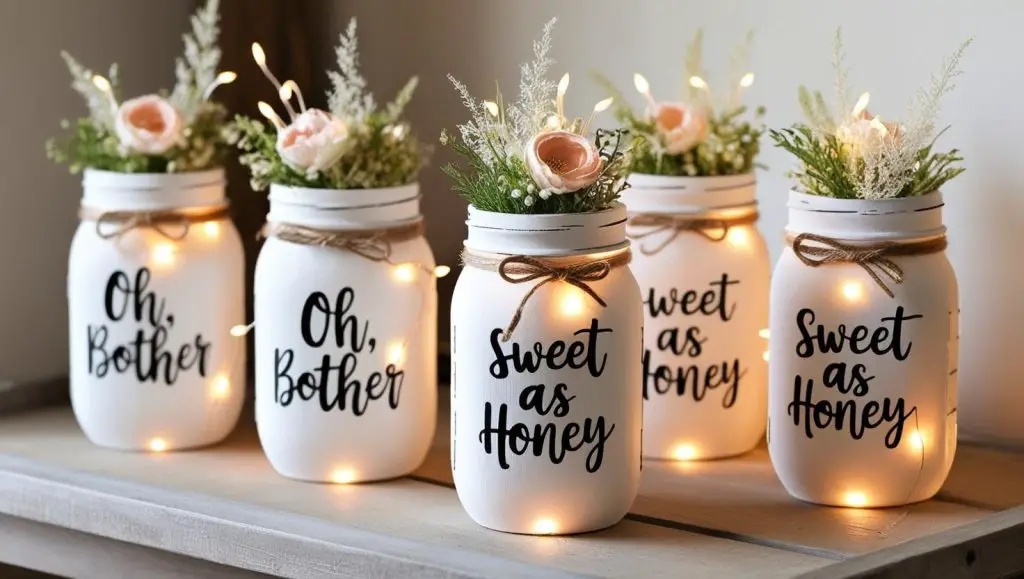
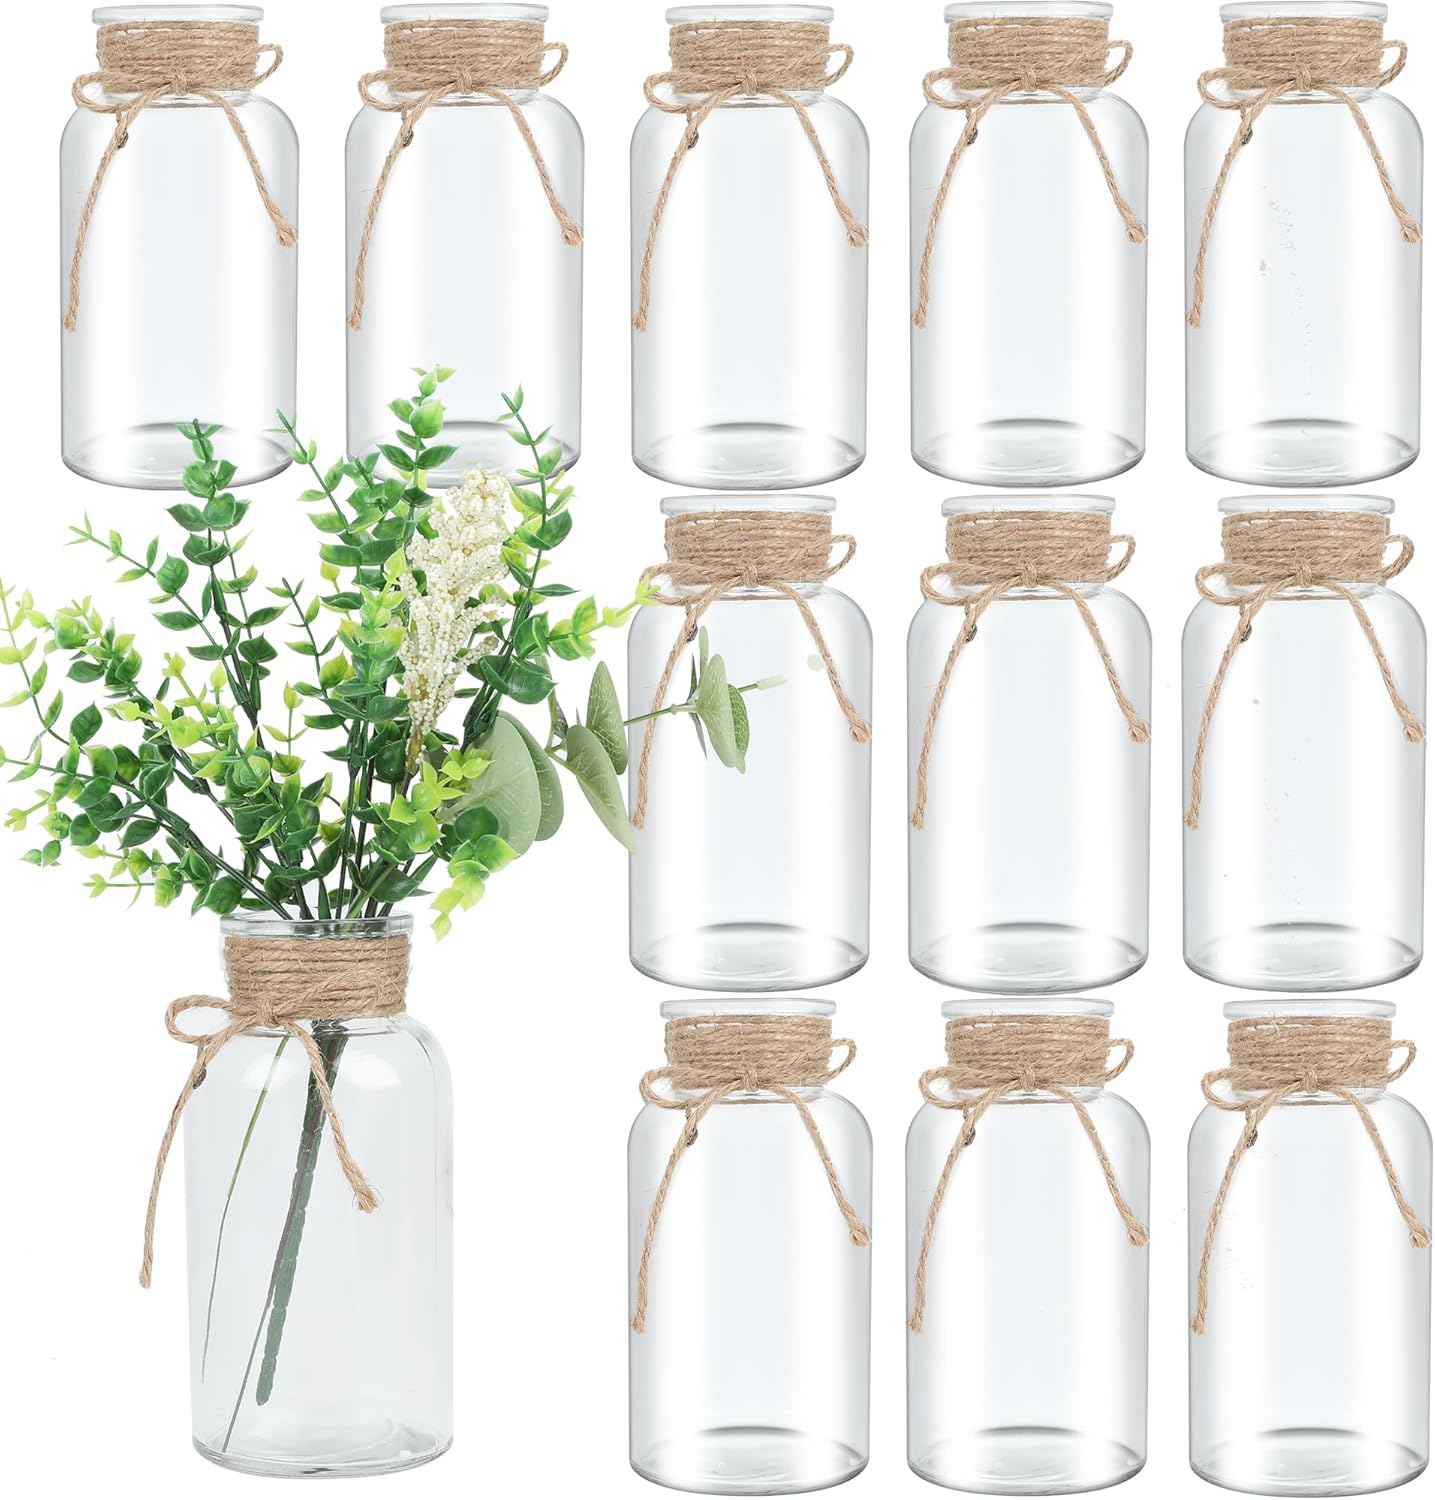
8. Custom Mason Jar Creations
Best For: Budget-friendly and customizable decor
Sometimes your centerpieces look beautiful, but don’t feel personal.
This setup solves that by letting you add your own touch, so each table feels a little more meaningful and memorable.
Using mason jars with handwritten quotes or simple designs gives you something that feels custom, while still being easy to put together and practical for your setup.
Most people skip the guesswork and just use the items below to pull this look together quickly.
Group three jars together on a wooden slice to create a cohesive, styled look that feels full without overcrowding the table.
Use the items below to recreate this centerpiece:
To get this look right, you’ll want a base, filler, and a few accent pieces. The items below work together to create a full, balanced centerpiece.


- Paint or write Pooh-inspired quotes on each mason jar using paint pens.
- Fill the jars with fairy lights or small floral arrangements.
- Arrange the jars together in small groups for a balanced look.
Use pre-decorated mason jars or simple decals instead of hand lettering, then just add lights or flowers for a quick and polished setup.
DIY Pooh centerpieces are a simple way to bring warmth and personality into your baby shower without overcomplicating your setup. You don’t need anything elaborate—just a few well-chosen pieces that work together to create a cohesive look.
Start with one or two centerpiece ideas that fit your space and build from there. Using the supplies listed throughout this post helps take the guesswork out and keeps everything consistent.
With a little planning and a few thoughtful details, you can create a setup that feels complete, inviting, and memorable for your guests without adding unnecessary stress to your day.
Leave a Reply