Unicorn-themed parties are all about color, sparkle, and that soft, magical feeling, but putting the table together can start to feel overwhelming fast.
You may have the tissue paper, the party colors, and the general idea in mind. However, then you still have to figure out the horn, ears, eyelashes, flower centers, and how to make everything look like it actually belongs together.
That is where a simple DIY centerpiece can make a big difference.
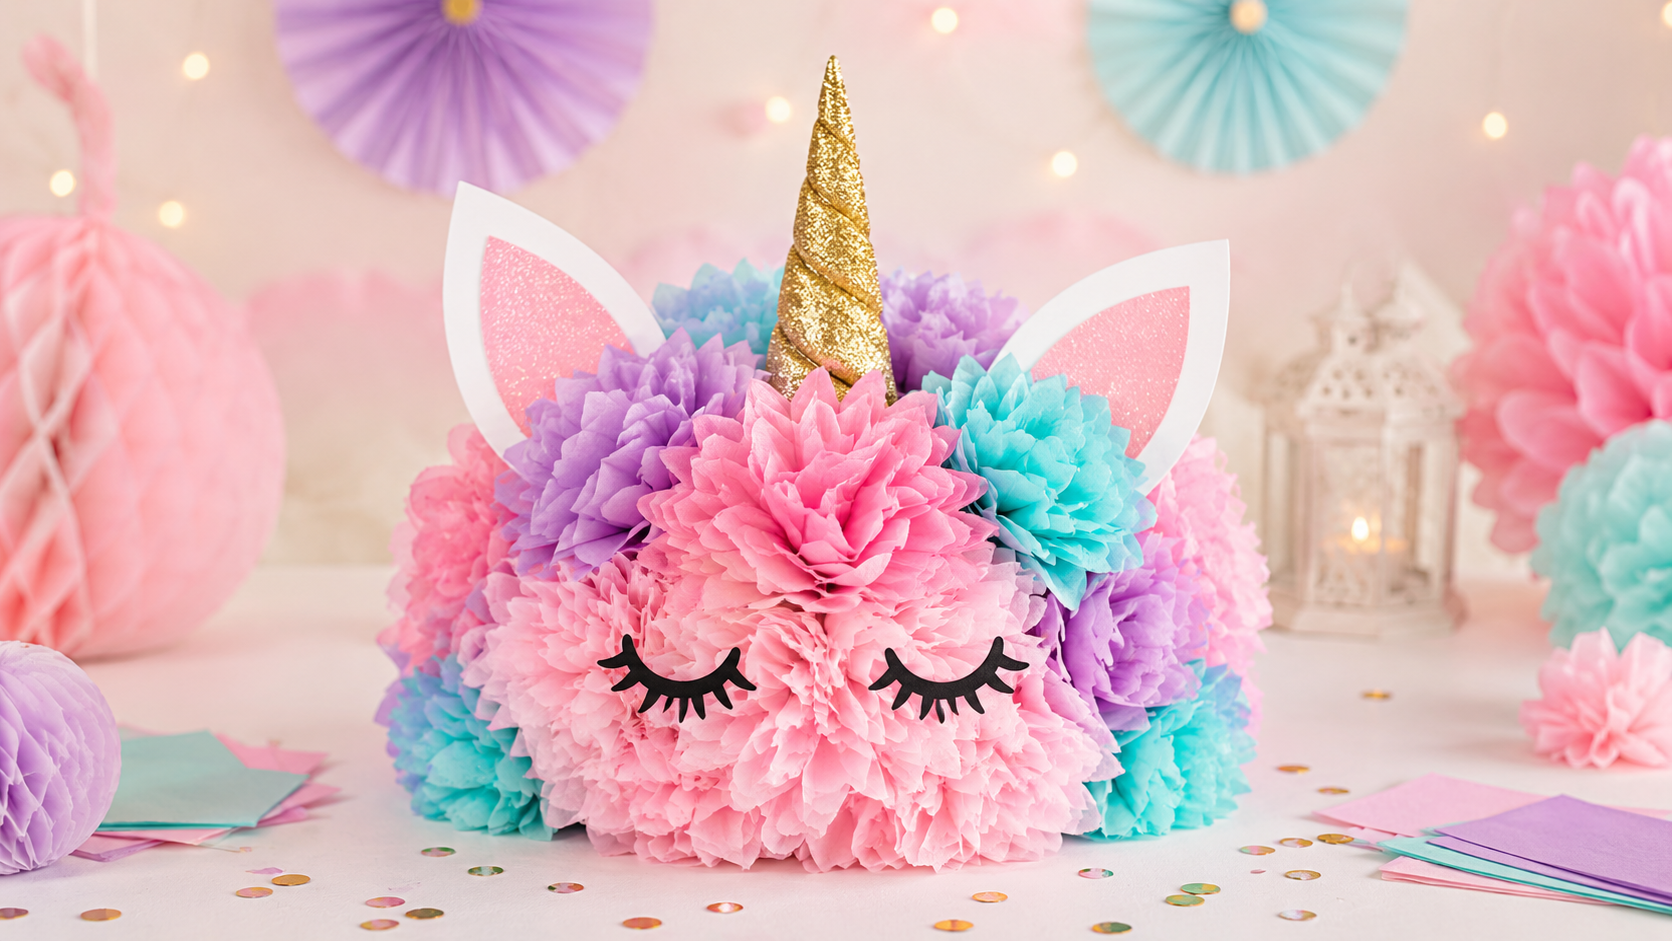
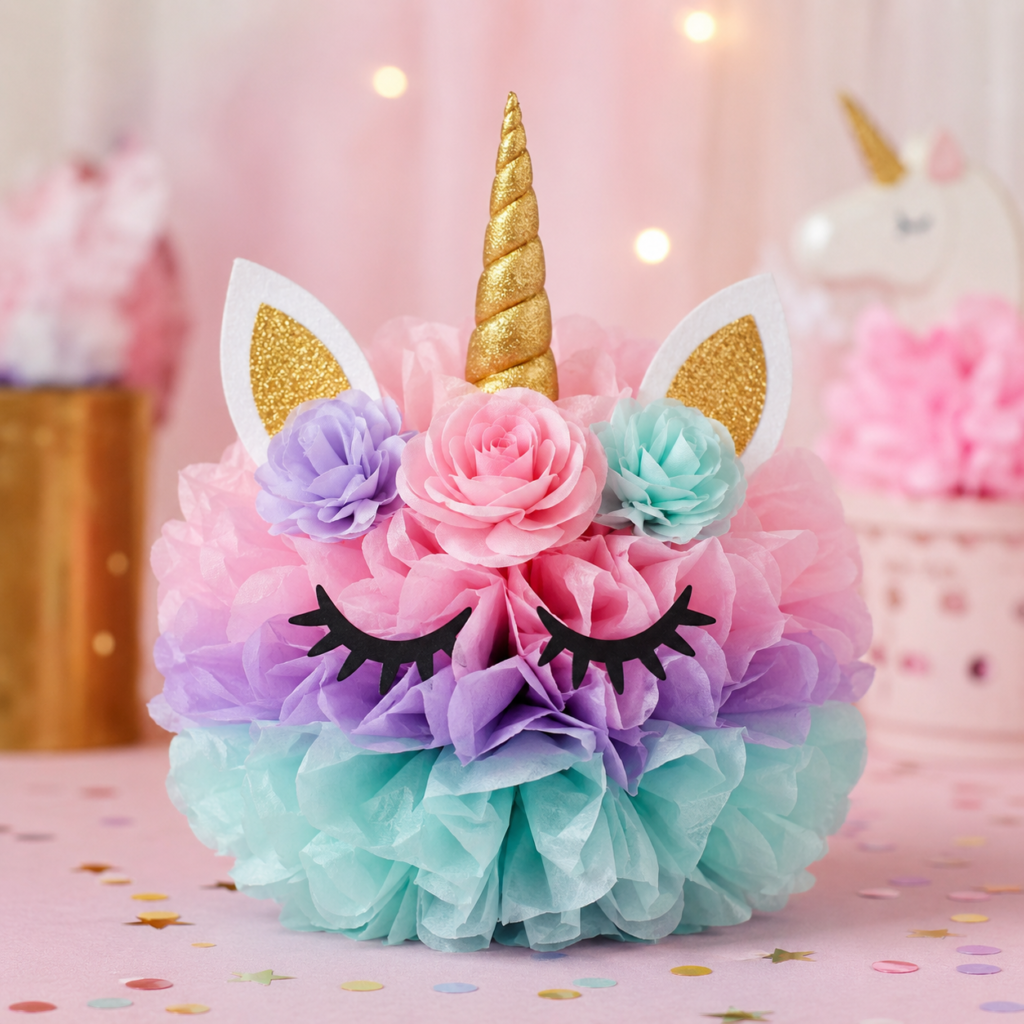
This unicorn tissue paper flower centerpiece gives you a cute focal point for your party table without needing an expensive custom decoration.
It works well for unicorn birthday parties, baby showers, pastel party setups, dessert tables, gift tables, or any celebration where you want something colorful and fun without spending a lot.
The best part is that you can customize the colors to match your theme. Use pink, lavender, teal, white, gold, or any soft pastel shades that fit your party.
Once the flower is made, the unicorn horn, ears, lashes, and small finishing details help turn a basic tissue paper flower into something that feels more polished and party-ready.
If you want to make the project even easier, you can use printable templates for the unicorn pieces instead of trying to draw or resize everything yourself.
That way, you can focus on assembling the centerpiece and styling the table, instead of guessing how big the horn or ears should be.
In this tutorial, I’ll walk you through the supplies you need and the simple steps to make your own unicorn tissue paper flower centerpiece on a budget.
If you make a purchase using a link in this post, I may be compensated at no additional charge to you. See my affiliate disclaimer for more information.
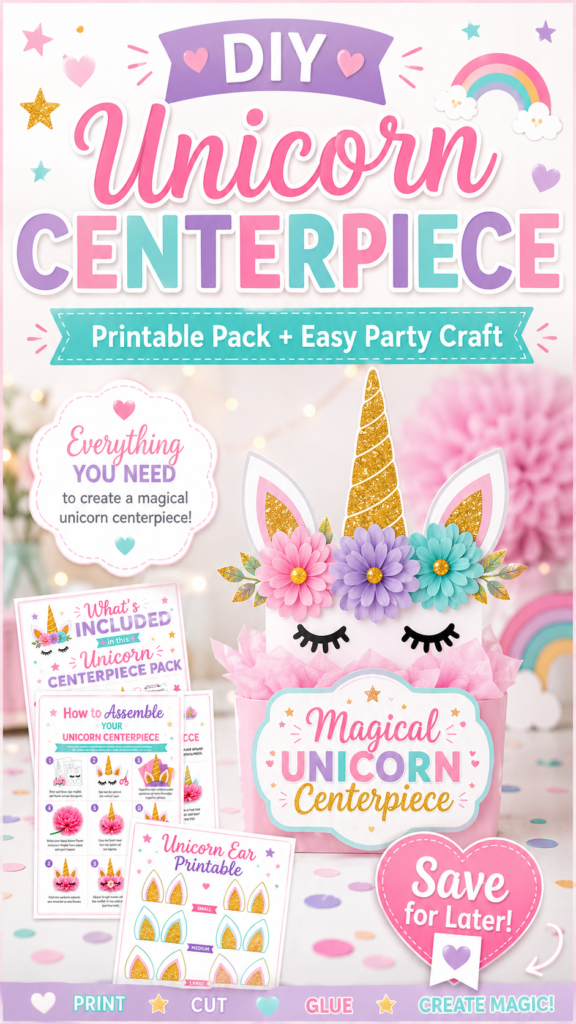
Printable Shortcut
Want the Unicorn Pieces Already Sized for You?
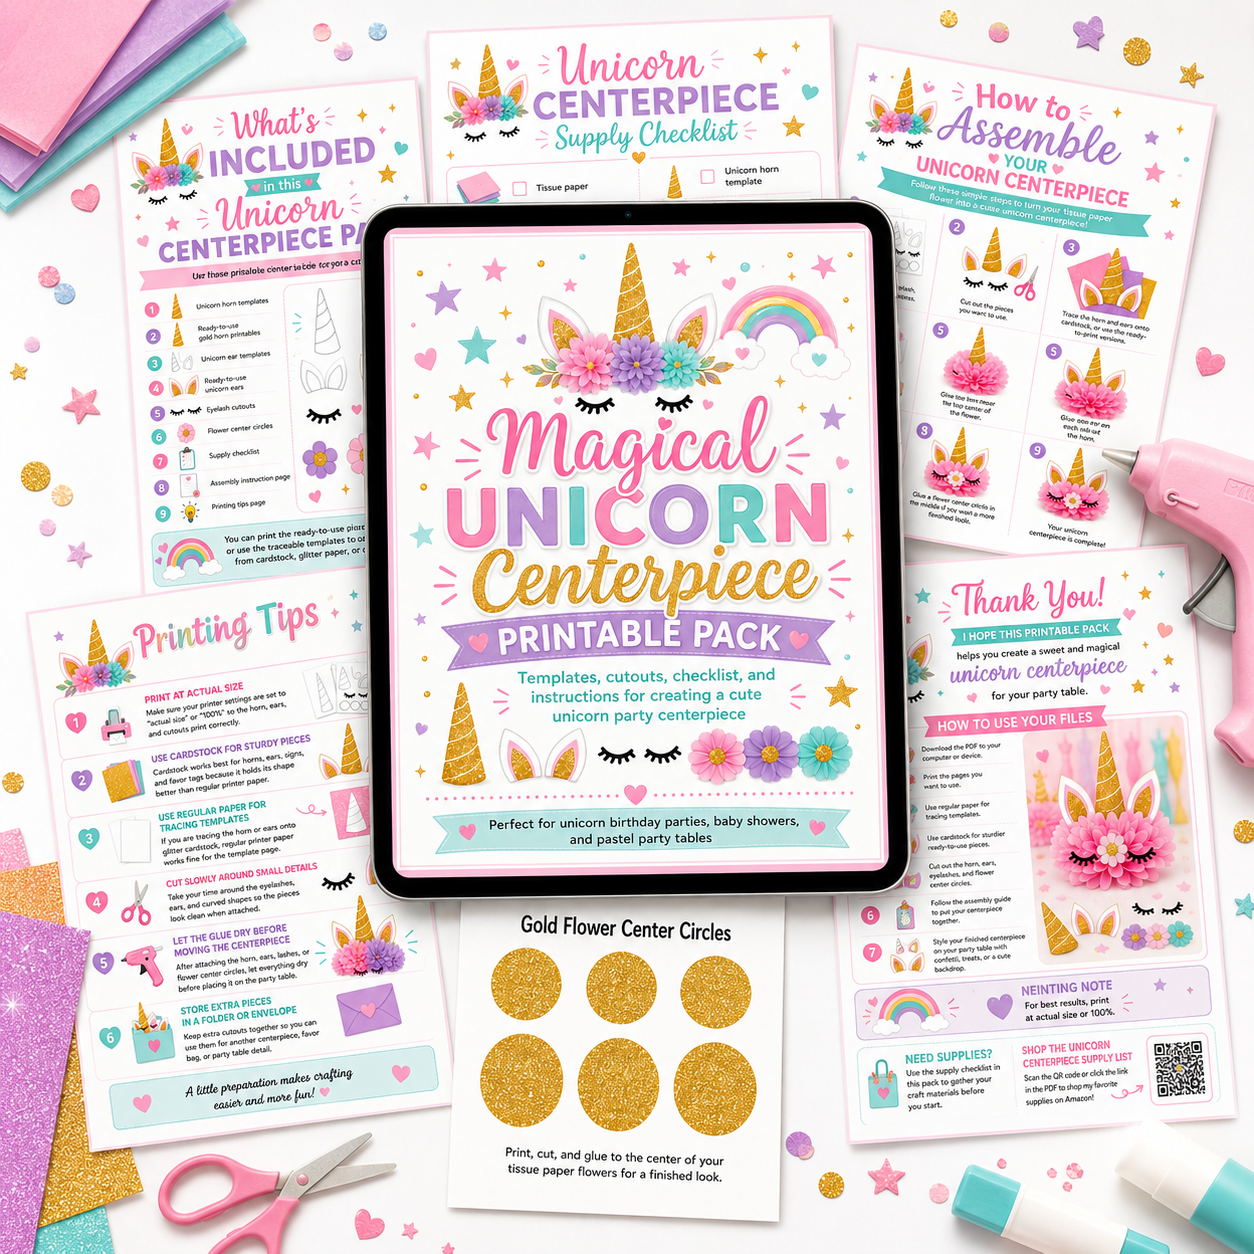
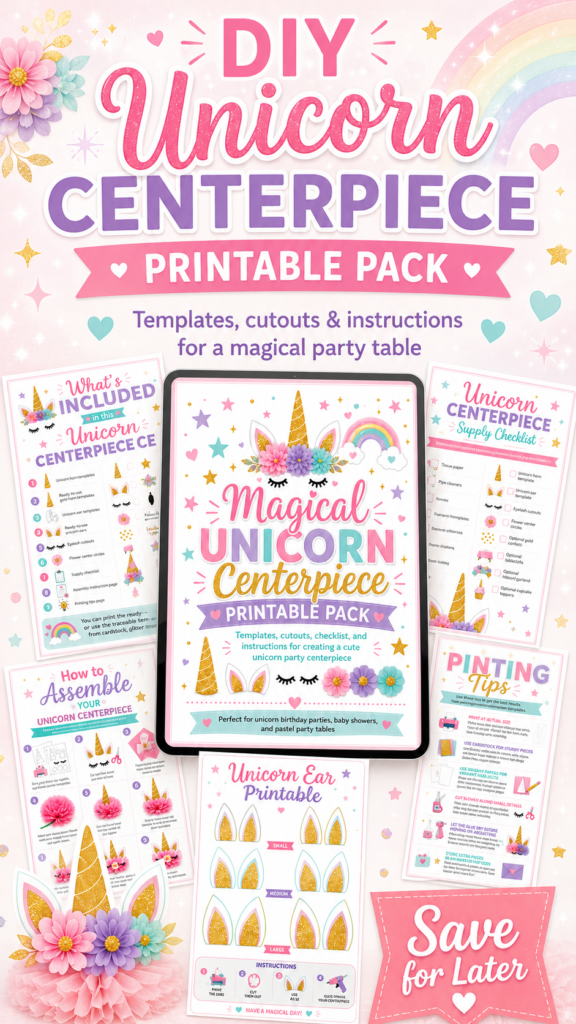
If you want to make this centerpiece without searching for separate horn, ear, eyelash, and flower center templates, I created a printable pack to make the project easier.
The pack includes traceable templates, ready-to-use cutouts, a supply checklist, assembly instructions, and printing tips so you can put the centerpiece together without guessing.
Download the Printable PackInstant digital download. No physical product will be shipped.
Supply Shortcut
Shop the Unicorn Centerpiece Supplies
Now that you have the printable pieces ready, the next step is gathering the craft supplies for the centerpiece itself. You do not need anything complicated, but having the tissue paper, cardstock, glue, pipe cleaners, and a few table details ready before you start makes the project much easier.
I like to keep the main supplies simple, then add a few cute extras like confetti, a tablecloth, or cupcake toppers if I want the whole party table to feel more finished.
Shop the Supply ListThis supply list opens in a new window.
What You’ll Need to Make a Unicorn Tissue Paper Flower Centerpiece
Before you start folding and fluffing the tissue paper, it helps to have everything ready. This centerpiece is simple, but the small details make a big difference. The tissue paper creates the flower shape, while the horn, ears, eyelashes, and flower center circles help turn it into a cute unicorn party decoration.
If you are using the printable pack, go ahead and print the pieces you want to use first.
Then gather your craft supplies so you can move through the steps without stopping in the middle of the project.
Supplies Needed
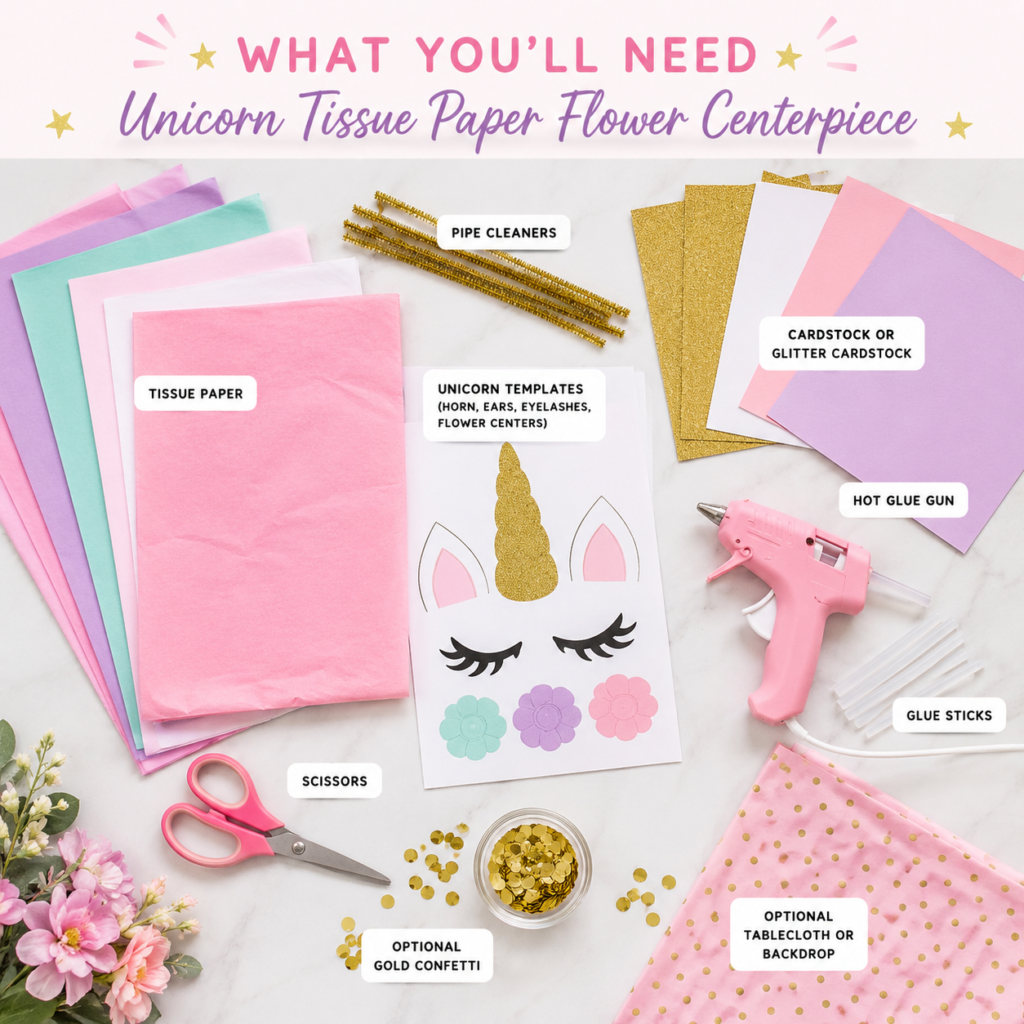
- Tissue paper in pastel colors like pink, lavender, teal, and white
- Pipe cleaner to secure the folded tissue paper in the center
- Cardstock or glitter cardstock for the unicorn horn, ears, and optional decorative pieces
- Unicorn horn template to create the center horn
- Unicorn ear template to add one ear on each side of the horn
- Eyelash cutouts to give the centerpiece a cute unicorn face
- Flower center circles to cover the middle of the tissue paper flower and give it a finished look
- Hot glue gun to attach the horn, ears, lashes, and flower center pieces
- Glue sticks for your hot glue gun
- Scissors for cutting the tissue paper and printable pieces
- Optional gold confetti for styling the party table around the centerpiece
- Optional tablecloth or backdrop to make the full party setup feel more complete
Quick Tip
If you want the centerpiece to hold its shape better, use cardstock for the horn and ears instead of regular printer paper. Regular paper works well for tracing, but cardstock gives the finished pieces more structure.
How to Make a Unicorn Tissue Paper Flower Centerpiece
Now that your supplies are gathered, it is time to put the centerpiece together. Start with the tissue paper flower first, then add the unicorn details once the flower is shaped and fluffed. This keeps the project easier to manage and helps the horn, ears, lashes, and flower center pieces stay in the right place.
Step 1: Prepare the Tissue Paper
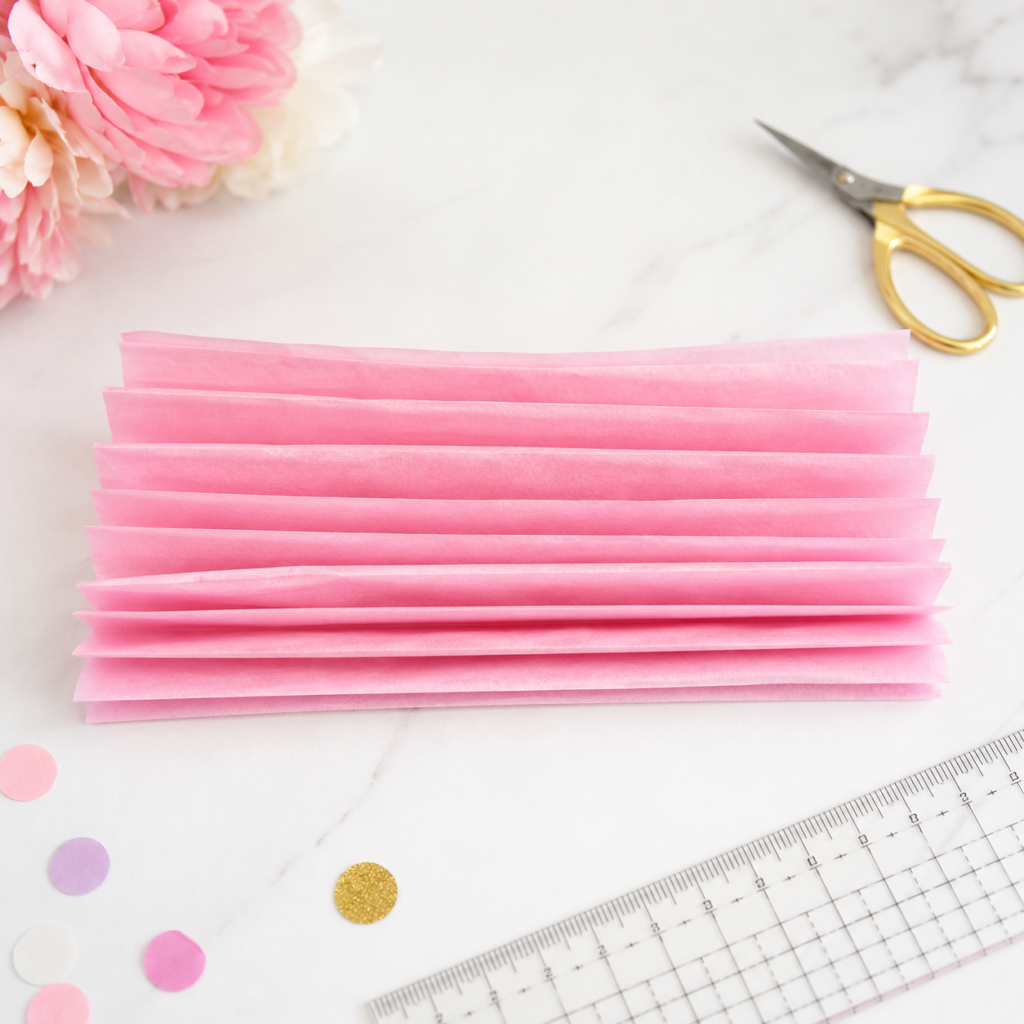
Stack your tissue paper sheets neatly on top of each other, making sure the edges are lined up as evenly as possible.
Fold the tissue paper accordion-style, using folds that are about one inch wide.
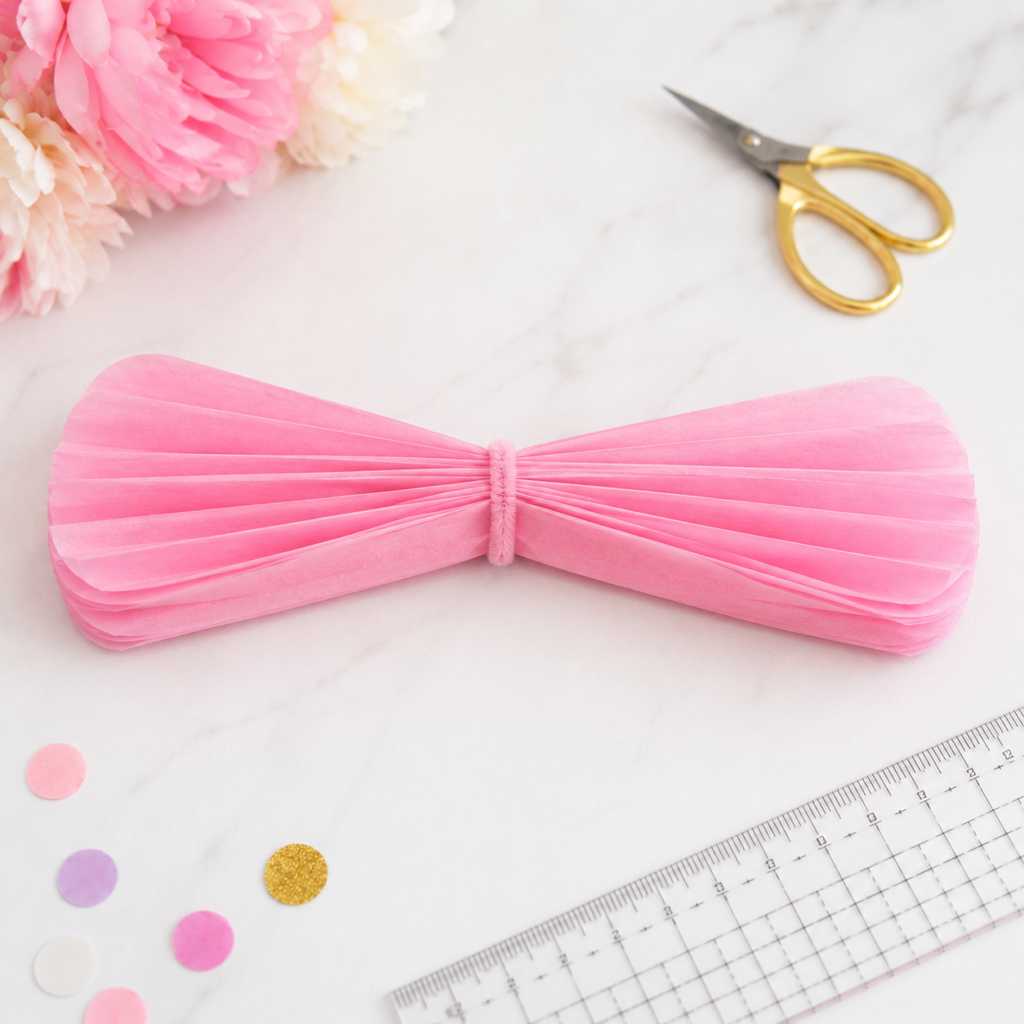
Step 2: Secure the Center with a Pipe Cleaner
Find the center of the folded tissue paper stack and wrap a pipe cleaner around it tightly. This helps hold the folds in place and creates the base of the flower shape.
Step 3: Shape the Tissue Paper Edges
Use scissors to round the edges of the folded tissue paper.
The edges do not have to be perfect. Rounding them just gives the flower a softer, more petal-like look.
Step 4: Fluff the Tissue Paper
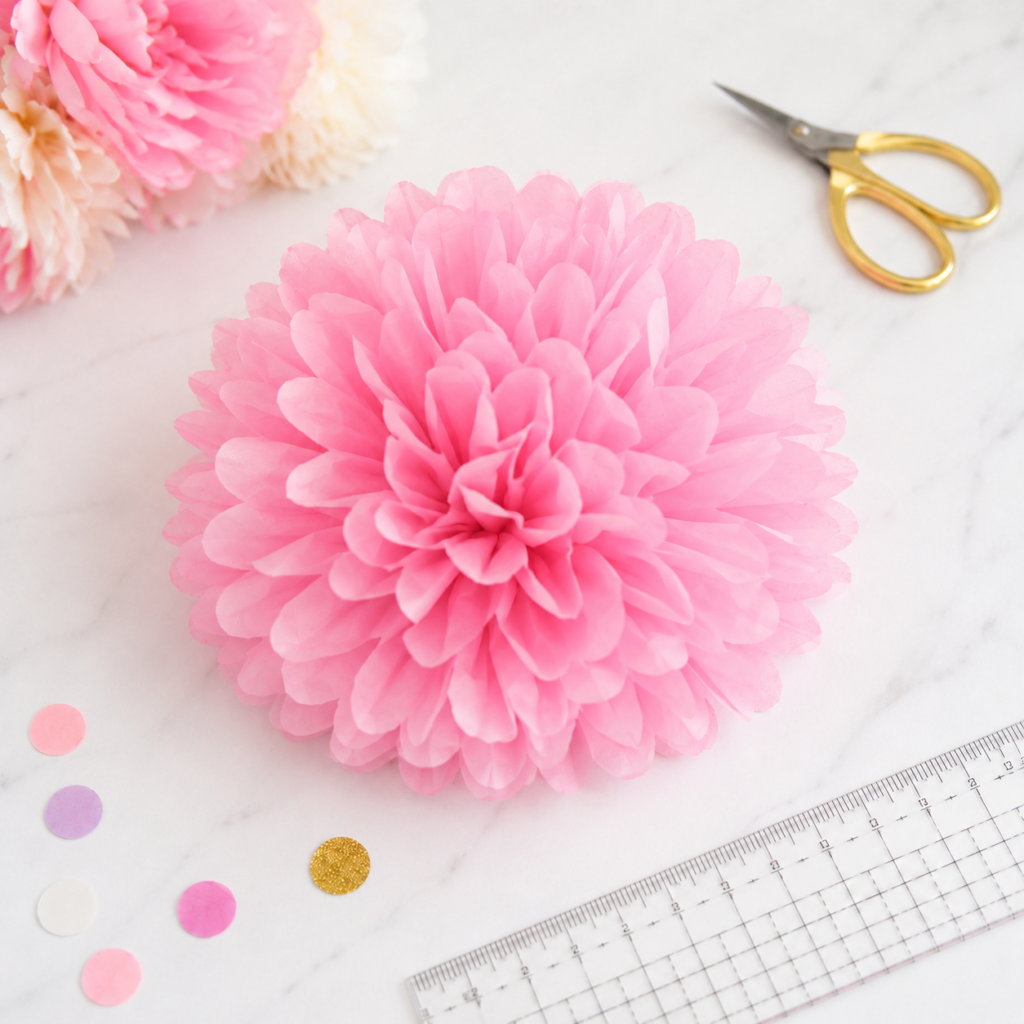
Gently pull each layer of tissue paper upward, starting from the base.
Work slowly and evenly on both sides until the flower looks full and rounded.
Once the tissue paper flower is full and rounded, you can start turning it into a unicorn centerpiece.
This is where the horn, ears, eyelashes, and flower center circles make the project feel more finished. Work slowly here so each piece has time to stick and stay in place.
Step 5: Add the Unicorn Horn
Place the unicorn horn near the top center of the tissue paper flower. Add a small amount of hot glue to the bottom of the horn, then press it gently into the center area of the flower until it feels secure.
If you are using cardstock or glitter cardstock, the horn should hold its shape better than regular printer paper.
Step 6: Add the Unicorn Ears
Add one unicorn ear on each side of the horn. Try to keep them balanced so the centerpiece looks even from the front.
Use a small dab of hot glue at the bottom of each ear, then press them gently into the tissue paper flower.
Step 7: Add the Eyelashes and Flower Center
Next, glue the eyelash cutouts near the front of the flower to create the unicorn face.
Then add a flower center circle in the middle if you want to cover the folds and give the centerpiece a cleaner finished look.
Step 8: Make Final Adjustments
Fluff the tissue paper one last time and adjust the horn, ears, eyelashes, and flower center if needed.
Once everything is dry, your unicorn centerpiece is ready to place on the party table.
Finish the Look
Need Supplies for Your Unicorn Centerpiece?
If you are ready to make the centerpiece, I put together a simple supply list with tissue paper, cardstock, glue supplies, confetti, and a few cute party details that work well with this project.
Shop the Unicorn Supply ListThis supply list opens in a new window.
Once everything is attached and dry, your unicorn tissue paper flower centerpiece is ready for the party table.
You can place it in the center of a dessert table, gift table, favor station, or kids’ party setup. Add a little gold confetti, pastel plates, or a simple backdrop around it if you want the whole display to feel more complete.
Making a unicorn centerpiece does not have to be complicated or expensive. With tissue paper, cardstock, a few printable pieces, and simple craft supplies, you can create a cute party decoration that feels colorful, fun, and personal.
The best part is that you can adjust the colors to match your party. Use soft pastels for a sweet unicorn birthday, add more gold for a magical look, or keep it simple with pink, lavender, and white for a baby shower.
Whether you use this as the main centerpiece or as part of a larger dessert table setup, it is a simple way to make your party feel more thoughtful without spending a lot.
Save this idea for later and come back to it when you are ready to start crafting.
Leave a Reply