There’s something timeless about Winnie the Pooh. His honey-loving grin and gentle adventures have captured hearts for generations. Bringing that charm to a celebration is easy with a DIY centerpiece that feels straight out of the Hundred Acre Wood.
Why a Winnie the Pooh Centerpiece Steals the Show
A well-made centerpiece instantly draws the eye. When it’s infused with beloved storybook characters, it becomes more than decor — it’s a conversation starter, a nostalgic nod, and a photo-worthy moment all in one.
Choosing the Perfect Spot for Your Centerpiece
Whether it’s the focal point of a buffet table, the heart of a dessert spread, or the crown jewel of a guest table, location matters. Place it where guests can admire the details from every angle.
This post contains affiliate links. See our affiliate disclaimer.
Step 1: Gather Your Supplies
Must-Have Crafting Essentials
Start with scissors, a hot glue gun, floral foam, wire cutters, and craft glue. These tools will help you assemble and secure each piece with ease.
Selecting the Right Winnie the Pooh Figurines or Images
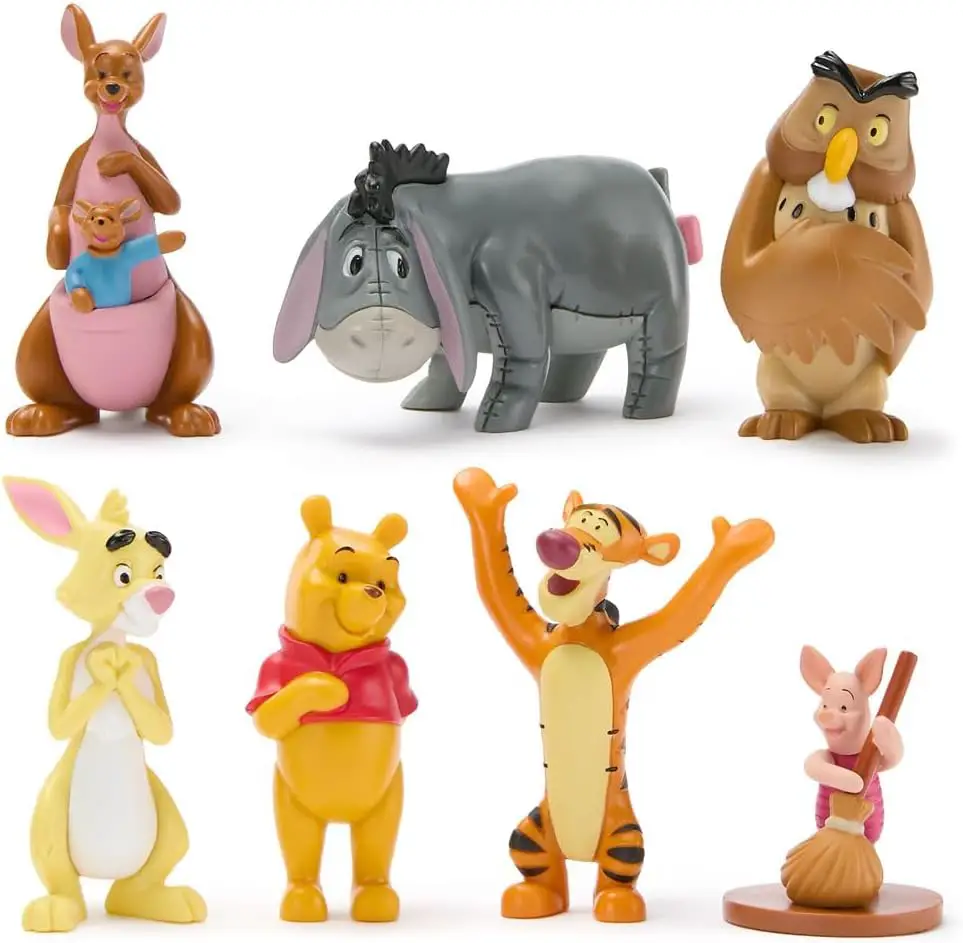
Opt for small figurines or high-quality printed cutouts. Pooh himself is a must, but adding Piglet, Tigger, and Eeyore gives the arrangement extra personality.
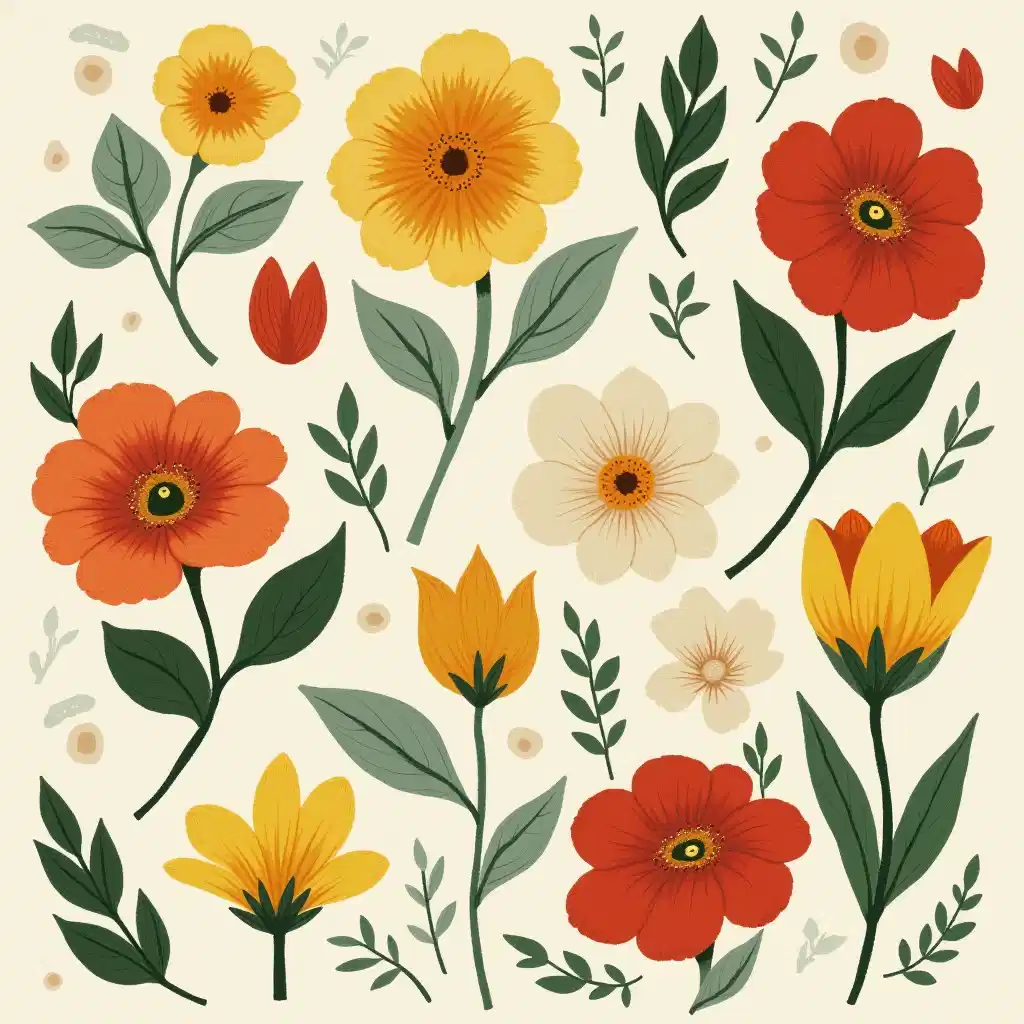
Color Palette Inspiration: Honey Yellows and Storybook Neutrals
Golden yellows, soft creams, sage greens, and pops of red mirror the colors of Pooh’s adventures. Use these hues to guide your flowers, ribbons, and props.
Step 2: Build Your Base
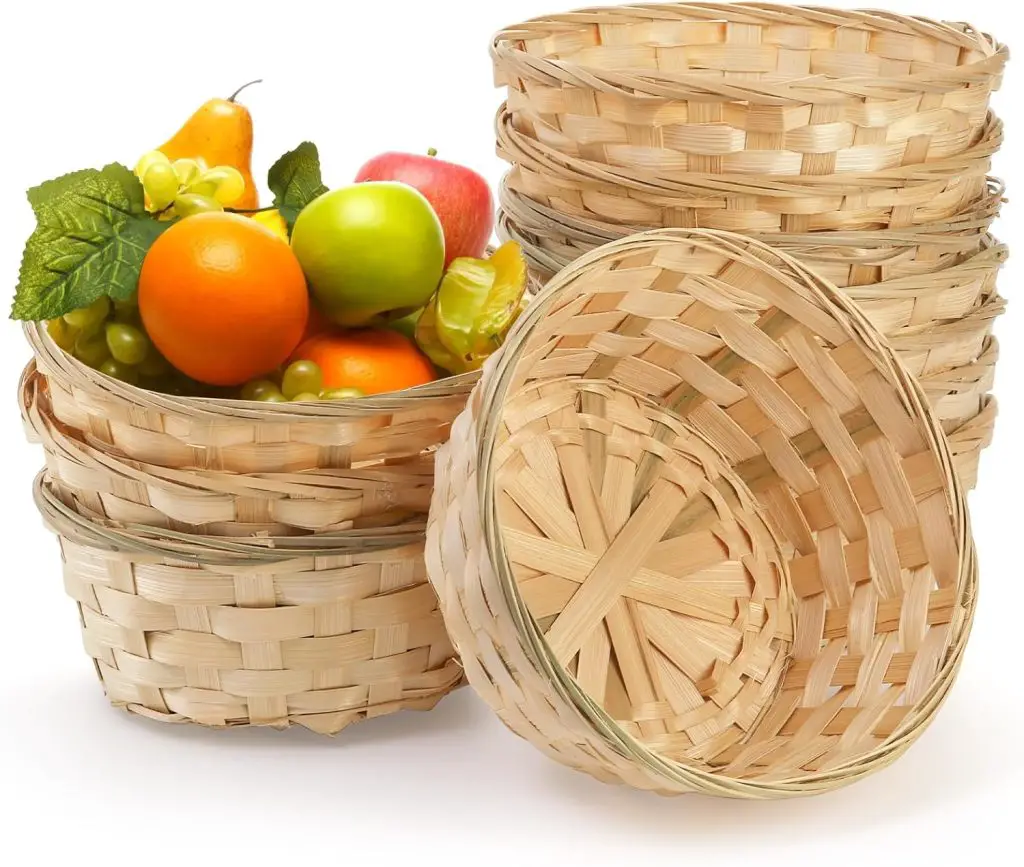
Choosing Between a Basket, Box, or Flower Pot
A woven basket evokes rustic charm, while a painted wooden box feels quaint and cozy. For a whimsical twist, use a honey-colored flower pot.
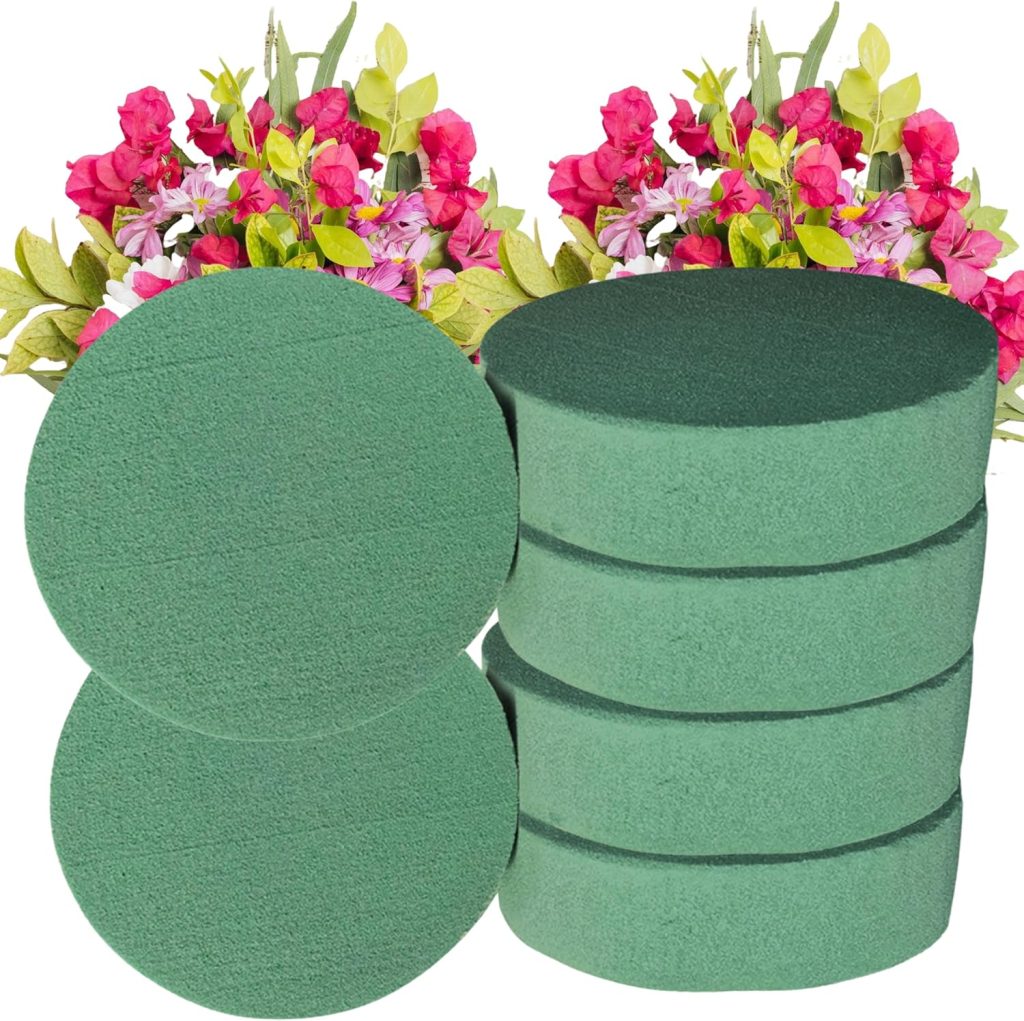
Adding Height and Stability with Foam or Fillers
Place floral foam inside your container to anchor stems and decorations. You can also use crumpled tissue paper topped with moss for a natural finish.
Wrapping the Base for a Polished Look
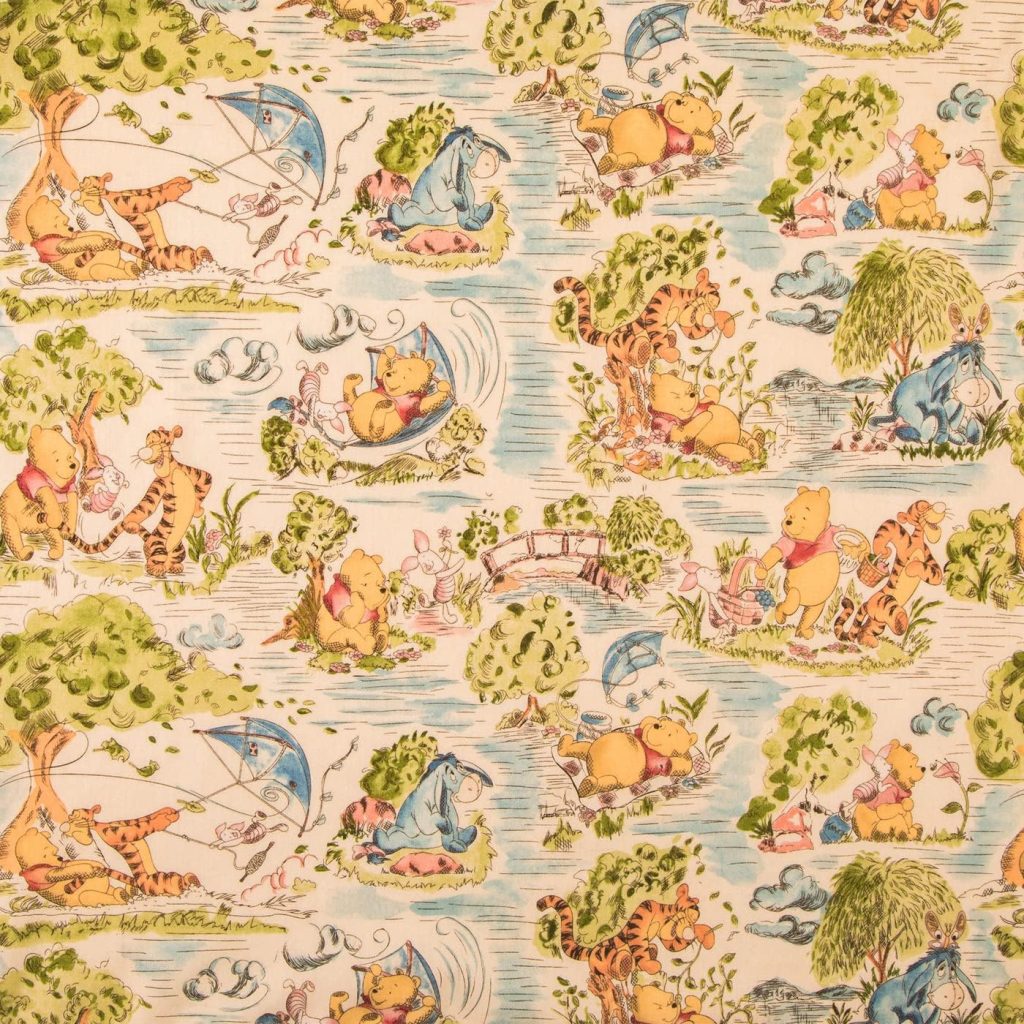
Cover the outside with Winnie the Pooh design fabric (which can double as quilt pieces), gingham fabric, or wrapping paper in your theme colors. Secure with ribbon for a tidy, finished appearance.
Step 3: Create the Scene

Arranging Foliage and Flowers for a Hundred Acre Wood Feel
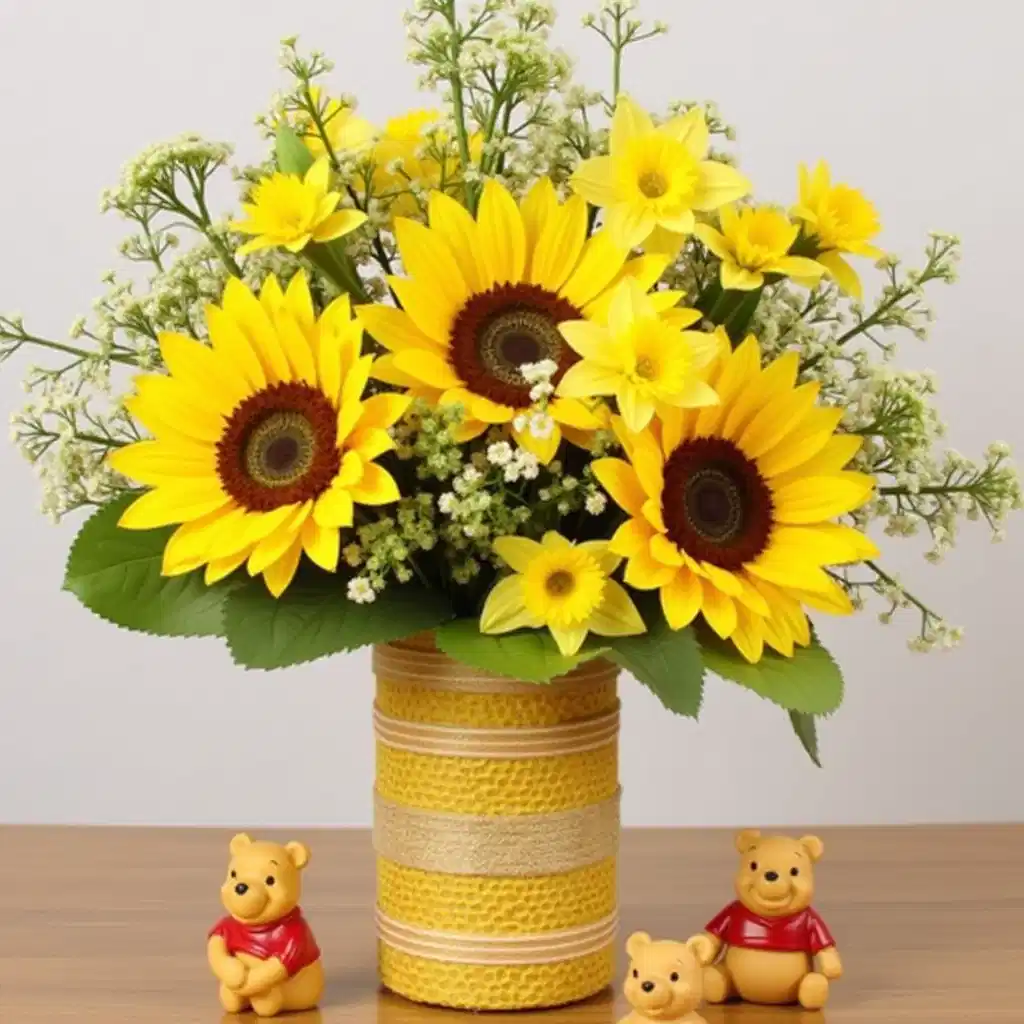
Use silk or fresh greenery as your backdrop. Add sunflowers, daisies, and wildflowers for a meadow-like touch.
Layering Elements for Depth and Dimension
Position taller stems toward the back and shorter blooms in front. This creates a natural, storytelling flow.
Adding Textural Accents Like Burlap or Gingham Ribbon
These fabrics add warmth and charm. Weave ribbons through greenery or tie small bows around figurines.
Step 4: Incorporate Winnie the Pooh Details
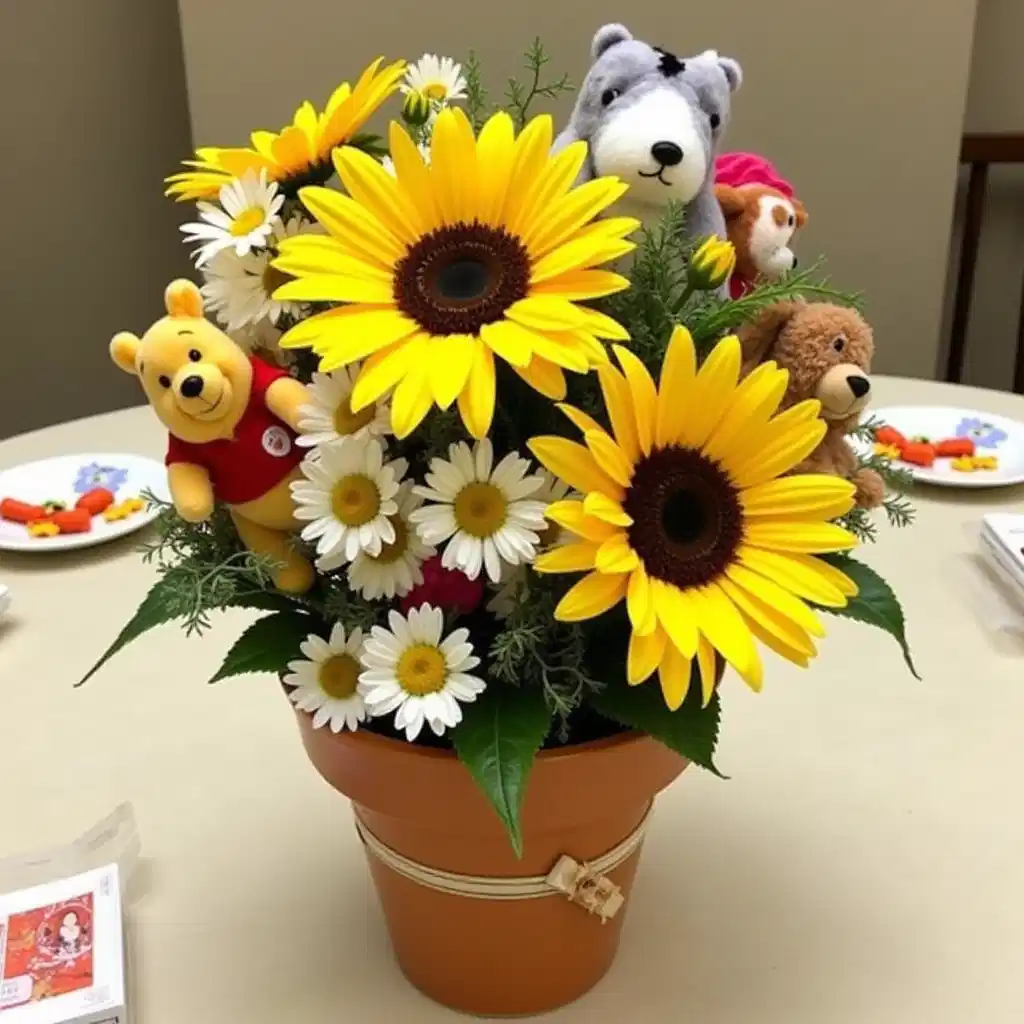
Positioning Figurines or Cutouts for Maximum Charm
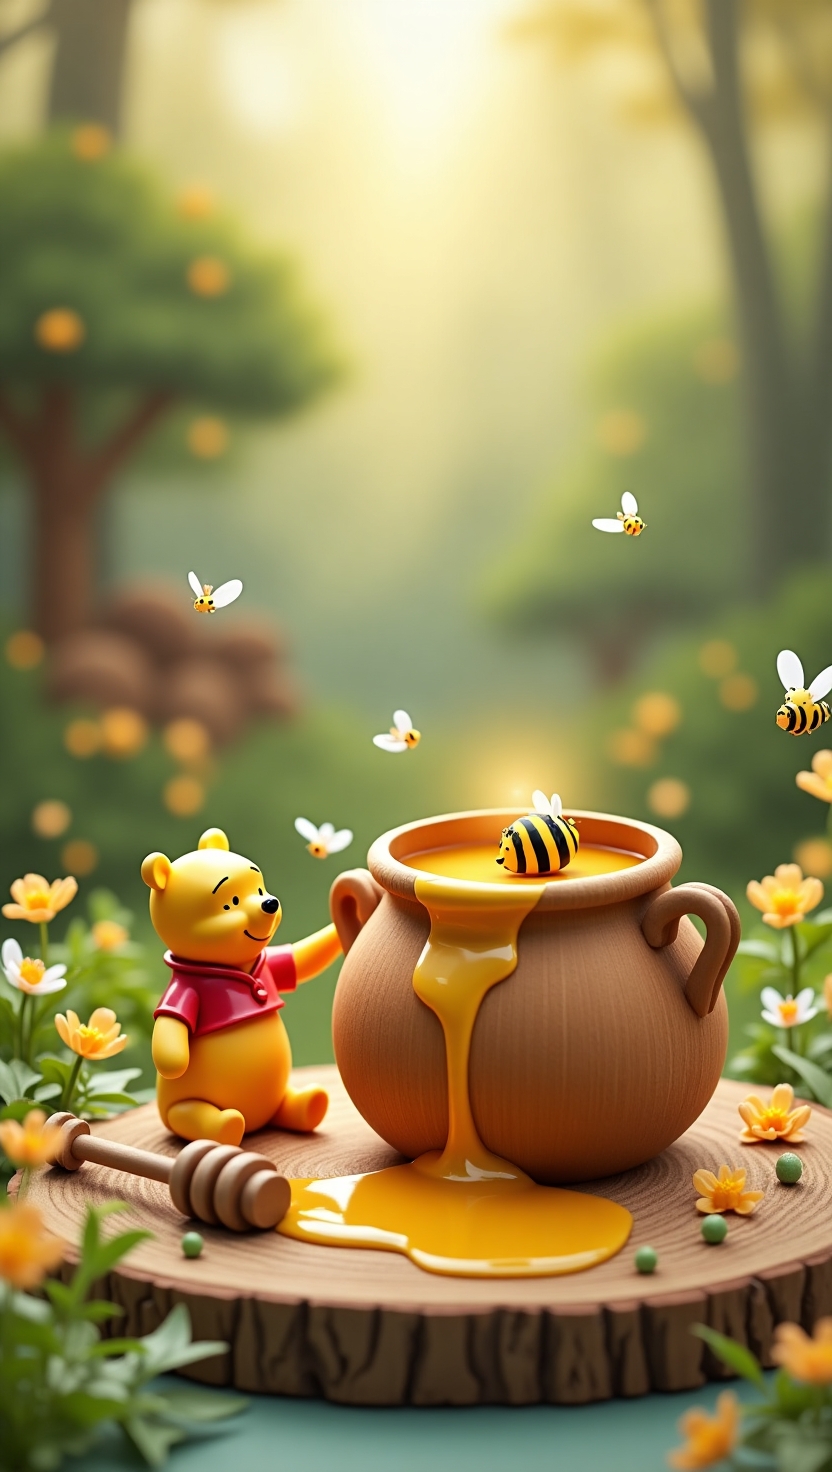
Place Pooh front and center, perhaps holding a tiny “hunny” pot. Surround him with friends in playful poses.
DIY Mini “Hunny” Pots for a Playful Touch
Paint small clay pots in golden yellow, write “Hunny” in a whimsical font, and drip a little gold paint over the rim to mimic honey.
Including Friends from the Hundred Acre Wood
Piglet can peek from behind flowers, Tigger might be mid-bounce, and Eeyore can rest quietly at the edge.
Step 5: Finishing Touches
Adding Fairy Lights for a Magical Glow
Wrap battery-operated fairy lights through the arrangement for an enchanting twinkle.
Sprinkling in Small Bees or Butterflies
Tiny decorative bees, butterflies, or ladybugs add movement and delight.
Securing Loose Pieces for Durability
A dab of hot glue can keep figurines and accents firmly in place, ensuring your centerpiece stays picture-perfect all event long.
Bonus Ideas
Adapting the Design for Different Occasions
For a baby shower, add pastel ribbons and a soft plush Pooh. For a child’s birthday, incorporate brighter blooms and playful props.
Turning Your Centerpiece into a Keepsake
Remove perishable elements and keep the figurines, base, and non-floral decorations as a memento.
Conclusion: Celebrating with a Centerpiece Full of Heart
A DIY Winnie the Pooh centerpiece isn’t just a decoration — it’s a little piece of storybook magic. With a few simple steps, you can create a heartwarming focal point that guests will remember long after the party ends.d friends bring joy to your party


Leave a Reply